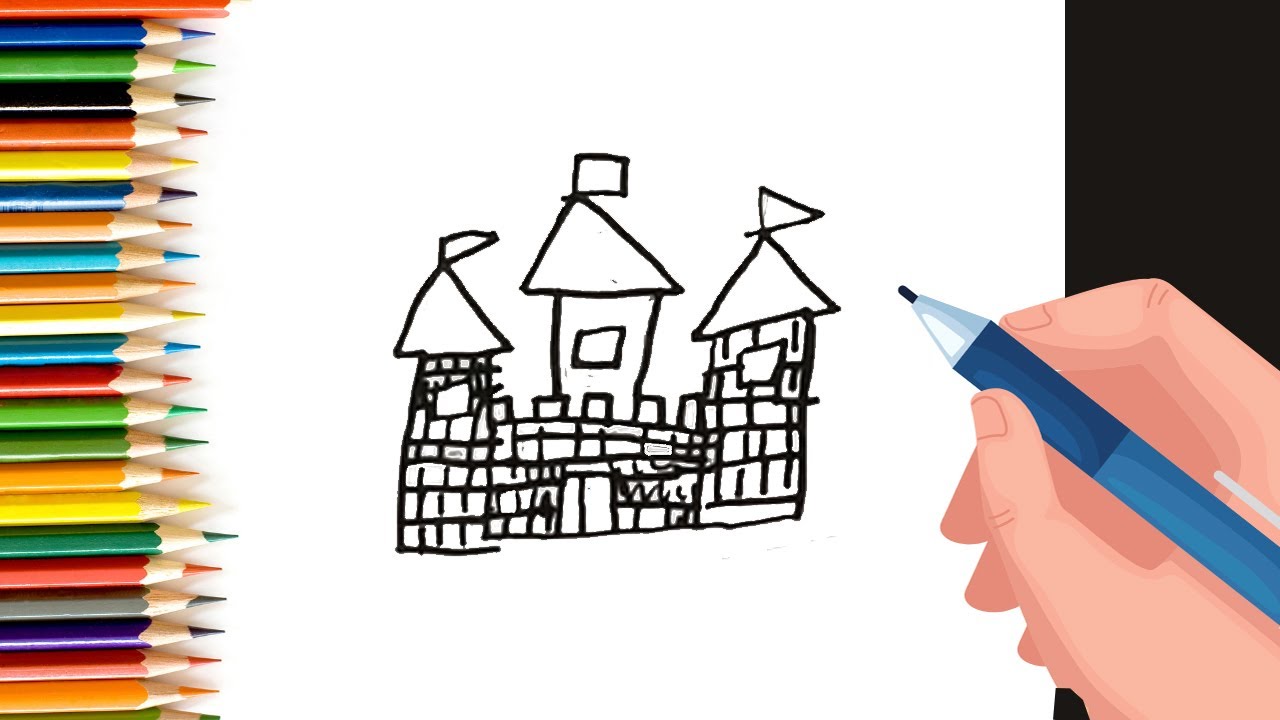
✅ What you'll learn
- How to draw How to draw a castle step by step
- Basic shapes and outline techniques
- How to add details and texture
- Colouring and finishing tips
💡 Perfect if you're thinking...
Learn to Draw castle
Follow along with this easy step-by-step drawing tutorial and learn how to draw castle. Perfect for kids and beginners!
Materials You Will Need
- Drawing paper or sketchbook
- Pencil (HB or #2)
- Eraser
- Black marker or pen for outlining
- Colored pencils, markers, or crayons
Drawing Tips
- Start with light pencil lines so you can easily erase mistakes
- Take your time with each step
- Add your own creative touches to make it unique
- Practice drawing castle multiple times to improve
Frequently Asked Questions
Is this drawing tutorial suitable for beginners?
Yes! This step-by-step tutorial breaks down the drawing of castle into simple, easy-to-follow steps perfect for kids and beginners.
What age group is this for?
This tutorial is designed for kids ages 5 and up, but anyone can follow along and learn to draw castle!
How long does it take to complete?
Most kids can complete this drawing in 15-30 minutes. Take your time and enjoy the process!
Can I use different coloring materials?
Absolutely! Use colored pencils, markers, crayons, or even watercolors to bring your castle drawing to life.
You Might Also Like
How to Draw Castle: Step-by-Step for Kids
Get your pencil ready! Follow these easy steps and you'll have an amazing Castle drawing in no time.
What You'll Need
- Pencil (HB or 2B)
- Eraser
- White drawing paper
- Black marker (optional, for outlines)
- Coloured pencils or crayons
Step-by-Step: Drawing a Castle
Step 1: Draw the Main Tower
Draw a tall rectangle in the centre of your page for the main castle tower. Make it the tallest structure on the page.
Step 2: Add the Battlements
Along the top of the tower, draw a row of square notches — alternating a square tooth and a square gap. These are the castle battlements.
Step 3: Draw the Side Towers
On each side of the main tower, slightly lower, draw two shorter, narrower rectangles — the side towers. Add battlements on top of these too.
Step 4: Add the Doorway
At the bottom centre of the main tower, draw an arch shape — like a rounded rectangle with a curved top. This is the castle entrance.
Step 5: Draw Windows
Add small arched or square windows on each tower — two on the main tower and one on each side tower.
Step 6: Add the Sandy Base
Below the castle, draw a wide, gently curved mound of sand. Make the edges slightly uneven and bumpy to look like real sand.
Step 7: Draw the Boy
To the side of the castle, draw a simple standing figure of a boy — circle head, straight body, two arms out and two legs. Add a bucket or spade in one hand.
Step 8: Add Beach Details
Draw a few seashell shapes near the base, and wavy lines in the background to suggest the sea. Add a few sand texture dots around the castle.
Colouring Your Castle
Colour the sand warm yellow-orange. The castle walls are sandy beige. Use a slightly darker brown for the shadow sides of each tower. The sky in the background can be light blue.
Tips from Parikshet
- Sand castles look more realistic when the edges are slightly rough and uneven — don't draw them too perfectly straight!
- Add a tiny flag on top of the tallest tower — a triangle on a thin stick.
- Practice makes perfect — try drawing it again tomorrow!
🧠 Quick Quiz — Test What You Learned!
Created by Parikshet & Dad
Hi! I'm Parikshet, an 11-year-old creator from Dubai who loves drawing, art, science experiments, and golf. My dad and I run KidsFunLearnClub to share fun learning activities with kids around the world. We've created over 1,900 tutorials and videos to help you learn and have fun!
🎁 Free AI Activity Pack for Kids
20 hands-on AI activities Parikshet uses with his students — free, no credit card, instant download.
Get the Free Pack →Parikshet also teaches AI!
Join thousands of kids learning how AI works — in simple, fun lessons anyone can follow. Free activity pack included.
Explore AI for Kids → What is AI? Start here