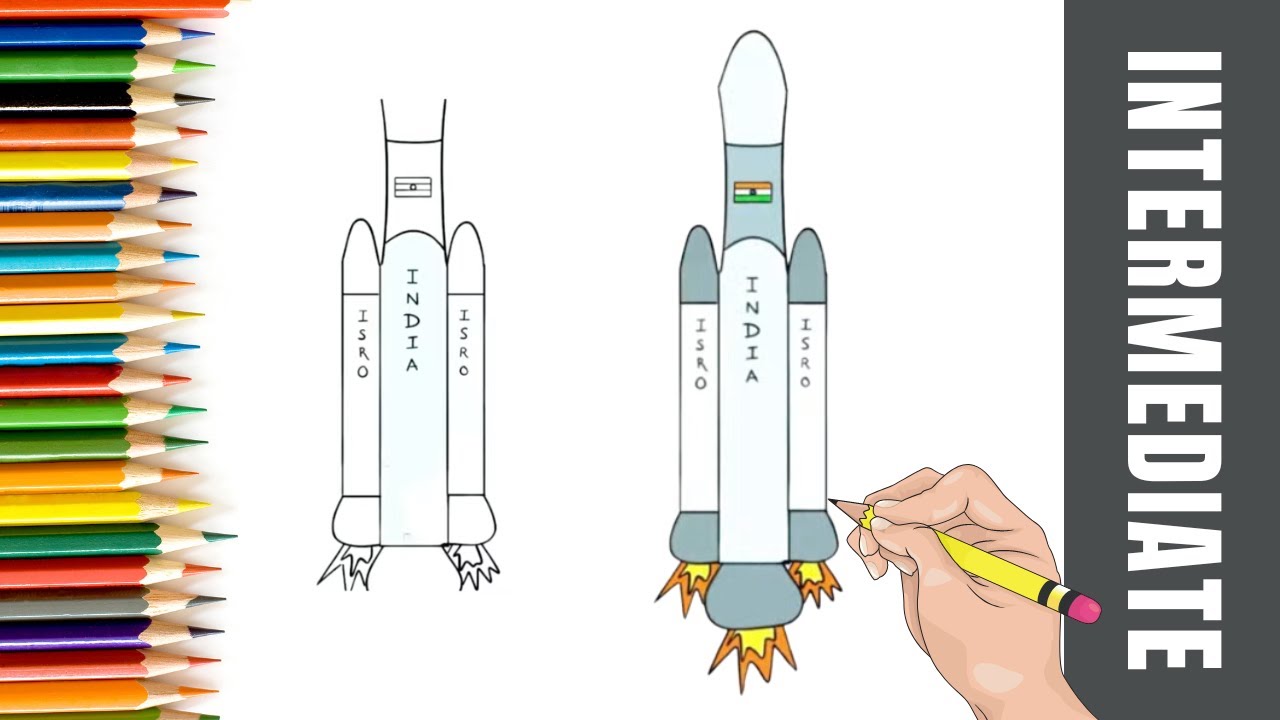
✅ What you'll learn
- How to draw Chandrayaan-3 Rocket Drawing | How to Draw Chandrayaan 3 Rocket | ISRO Moon Mission Drawing step by step
- Basic shapes and outline techniques
- How to add details and texture
- Colouring and finishing tips
💡 Perfect if you're thinking...
Learn to Draw Chandrayaan-3 Rocket Drawing | How to Draw Chandrayaan 3 Rocket | ISRO Moon Mission Drawing
Follow along with this easy step-by-step drawing tutorial and learn how to draw Chandrayaan-3 Rocket Drawing | How to Draw Chandrayaan 3 Rocket | ISRO Moon Mission Drawing. Perfect for kids and beginners!
Materials You Will Need
- Drawing paper or sketchbook
- Pencil (HB or #2)
- Eraser
- Black marker or pen for outlining
- Colored pencils, markers, or crayons
Drawing Tips
- Start with light pencil lines so you can easily erase mistakes
- Take your time with each step
- Add your own creative touches to make it unique
- Practice drawing Chandrayaan-3 Rocket Drawing | How to Draw Chandrayaan 3 Rocket | ISRO Moon Mission Drawing multiple times to improve
Frequently Asked Questions
Is this drawing tutorial suitable for beginners?
Yes! This step-by-step tutorial breaks down the drawing of Chandrayaan-3 Rocket Drawing | How to Draw Chandrayaan 3 Rocket | ISRO Moon Mission Drawing into simple, easy-to-follow steps perfect for kids and beginners.
What age group is this for?
This tutorial is designed for kids ages 5 and up, but anyone can follow along and learn to draw Chandrayaan-3 Rocket Drawing | How to Draw Chandrayaan 3 Rocket | ISRO Moon Mission Drawing!
How long does it take to complete?
Most kids can complete this drawing in 15-30 minutes. Take your time and enjoy the process!
Can I use different coloring materials?
Absolutely! Use colored pencils, markers, crayons, or even watercolors to bring your Chandrayaan-3 Rocket Drawing | How to Draw Chandrayaan 3 Rocket | ISRO Moon Mission Drawing drawing to life.
You Might Also Like
How to Draw the Chandrayaan-3 Rocket: Step-by-Step for Kids
Chandrayaan-3 was India's historic mission to the Moon! Drawing this ISRO rocket is a great way to celebrate Indian science and space exploration.
What You'll Need
- Pencil
- Ruler
- Eraser
- Paper
- Orange, white, and blue markers
Step-by-Step Instructions
Step 1: Draw the Main Rocket Body
Draw a tall, narrow rectangle in the centre of your paper. This is the main cylindrical body of the LVM3 (Launch Vehicle Mark 3) rocket. Make it about four times taller than it is wide.
Step 2: Add the Nose Cone
At the top of the rectangle, draw a pointed triangle nose cone. The base of the triangle matches the width of the rocket body exactly. This pointed top helps the rocket cut through the atmosphere.
Step 3: Draw the Two Solid Boosters
On each side of the main body, draw a smaller, narrower rectangle — these are the solid rocket boosters that give extra power at launch. They sit flush against the sides of the main body and extend lower than the bottom of the main body.
Step 4: Add the Booster Nose Cones
Add a small pointed cone on top of each booster, matching the booster width. Each booster has its own nose cone pointing upward.
Step 5: Draw the Engine Nozzles
At the bottom of the main rocket body, draw four small bell-shaped nozzle openings in a row. At the bottom of each booster, add one larger nozzle. These are where the fire comes out!
Step 6: Add the Payload Fairing
Just below the nose cone, draw a slightly wider rounded section — this is the payload fairing that protects the spacecraft inside. Add a horizontal line showing where it separates.
Step 7: Draw the ISRO Logo and Flag
On the side of the main rocket body, draw a small Indian flag (three horizontal stripes) and the ISRO emblem. Add the text "ISRO" in block letters below the flag.
Step 8: Add Rocket Flames
Below all the engine nozzles, draw large dramatic flames — jagged, spiky shapes in yellow and orange. Make the flames bigger than you think — launch flames are enormous!
Adding Colour
The main body is white with orange stripes. The boosters are orange. The nozzles are dark grey or silver. The flames are bright yellow at the centre fading to orange and red at the edges.
Tips from Parikshet
- Use a ruler for all the vertical lines — a neat, straight rocket looks much more impressive.
- The flames at launch are wider than the rocket itself — don't make them too small!
- Add a dark blue sky background with stars and a crescent moon to complete the space scene.
🧠 Quick Quiz — Test What You Learned!
Created by Parikshet & Dad
Hi! I'm Parikshet, an 11-year-old creator from Dubai who loves drawing, art, science experiments, and golf. My dad and I run KidsFunLearnClub to share fun learning activities with kids around the world. We've created over 1,900 tutorials and videos to help you learn and have fun!
🎁 Free AI Activity Pack for Kids
20 hands-on AI activities Parikshet uses with his students — free, no credit card, instant download.
Get the Free Pack →Parikshet also teaches AI!
Join thousands of kids learning how AI works — in simple, fun lessons anyone can follow. Free activity pack included.
Explore AI for Kids → What is AI? Start here