✅ What you'll learn
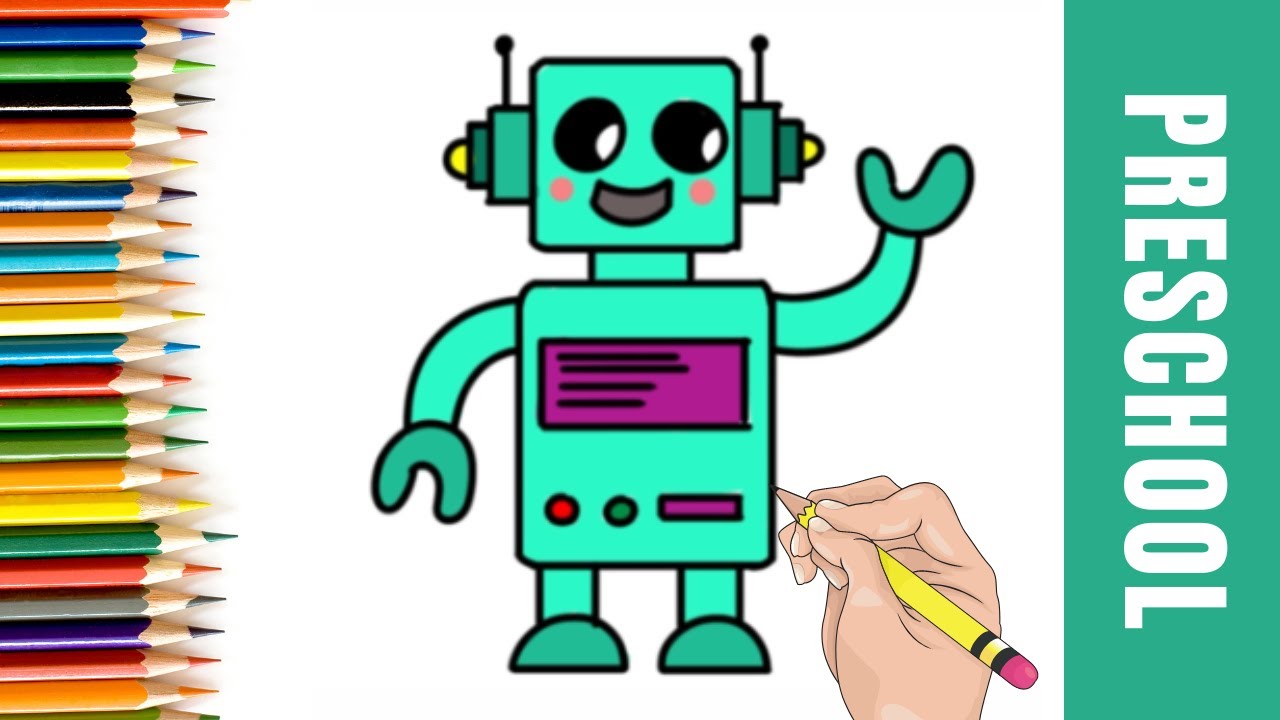
- How to draw How to draw a robot | Easy drawings for KIDS step by step
- Basic shapes and outline techniques
- How to add details and texture
- Colouring and finishing tips
💡 Perfect if you're thinking...
Learn to Draw robot | Easy drawings for KIDS
Follow along with this easy step-by-step drawing tutorial and learn how to draw robot | Easy drawings for KIDS. Perfect for kids and beginners!
Materials You Will Need
- Drawing paper or sketchbook
- Pencil (HB or #2)
- Eraser
- Black marker or pen for outlining
- Colored pencils, markers, or crayons
Drawing Tips
- Start with light pencil lines so you can easily erase mistakes
- Take your time with each step
- Add your own creative touches to make it unique
- Practice drawing robot | Easy drawings for KIDS multiple times to improve
You Might Also Like
How to Draw a Robot: Step-by-Step for Kids
A robot is built from rectangles, circles and straight lines. That makes it one of the easiest characters to draw, and you can design it any way you like.
What You'll Need
- Pencil (HB or 2B)
- Eraser
- White drawing paper
- Black marker for the outline
- Ruler (optional, for straight edges)
- Grey or silver pencil
- Coloured pencils or crayons
Step-by-Step: Drawing a Robot
Step 1: Draw the head
Draw a square or a rounded rectangle for the head. Robots have flat sides, so use straight lines.
Step 2: Add an antenna
On top, draw a short straight line with a small circle at the end.
Step 3: Draw the face
Draw two square or round eyes and a rectangle for a mouth. Add short vertical lines across the mouth to make a speaker grille.
Step 4: Add the neck
Under the head, draw a short spring by drawing a few tight zigzags between two lines.
Step 5: Draw the body
Draw a bigger rectangle under the neck. In the middle, draw a control panel: a smaller rectangle with three round buttons and a small dial.
Step 6: Add the arms
On each side, draw two rectangles joined by a small circle for the elbow. Finish each with a claw made of two curved shapes.
Step 7: Add the legs and feet
Under the body draw two thick rectangles for legs and two wide feet with flat bottoms.
Step 8: Outline and add details
Trace with a marker. Draw a few small circles at the corners for bolts, then erase the guide lines.
Colouring Your Robot
Use greys, blues and silver for a metal look. Press lightly for highlights and darker along one side for shading. Colour the buttons in bright red, yellow and green so they stand out.
Tips for Drawing a Robot
- Use a ruler for the body if you like. Robots look best with clean, straight edges.
- Try different shapes for the head, such as a circle or a triangle, to invent your own robot.
Try This With ChatGPT
With a grown-up, open a new ChatGPT chat and paste this prompt, changing [my age] to your age:
I am [my age] years old and I want to draw robot. Give me 6 steps using only simple shapes like circles, ovals and lines. Give one step at a time and wait until I type “next” before giving the following step.
Exact steps, follow-up prompts and safety rules are in our parent-guided ChatGPT guide. More ideas: creative AI activities for kids.
🧠 Quick Quiz — Test What You Learned!
Created by Parikshet & Dad
Hi! I'm Parikshet, an 11-year-old creator from Dubai who loves drawing, art, science experiments, and golf. My dad and I run KidsFunLearnClub to share fun learning activities with kids around the world. We've created over 1,900 tutorials and videos to help you learn and have fun!
🎁 Free AI Activity Pack for Kids
20 hands-on AI activities Parikshet uses with his students — free, no credit card, instant download.
Get the Free Pack →Parikshet also teaches AI!
Join thousands of kids learning how AI works — in simple, fun lessons anyone can follow. Free activity pack included.
Explore AI for Kids → What is AI? Start here