✅ What you'll learn
- How to draw Learn How to Draw Terry Fox | Step by Step for Beginners step by step
- Basic shapes and outline techniques
- How to add details and texture
- Colouring and finishing tips
💡 Perfect if you're thinking...
Learn to Draw Learn How to Draw Terry Fox | Step by Step for Beginners
Follow along with this easy step-by-step drawing tutorial and learn how to draw Learn How to Draw Terry Fox | Step by Step for Beginners. Perfect for kids and beginners!
Materials You Will Need
- Drawing paper or sketchbook
- Pencil (HB or #2)
- Eraser
- Black marker or pen for outlining
- Colored pencils, markers, or crayons
Drawing Tips
- Start with light pencil lines so you can easily erase mistakes
- Take your time with each step
- Add your own creative touches to make it unique
- Practice drawing Learn How to Draw Terry Fox | Step by Step for Beginners multiple times to improve
Frequently Asked Questions
Is this drawing tutorial suitable for beginners?
Yes! This step-by-step tutorial breaks down the drawing of Learn How to Draw Terry Fox | Step by Step for Beginners into simple, easy-to-follow steps perfect for kids and beginners.
What age group is this for?
This tutorial is designed for kids ages 5 and up, but anyone can follow along and learn to draw Learn How to Draw Terry Fox | Step by Step for Beginners!
How long does it take to complete?
Most kids can complete this drawing in 15-30 minutes. Take your time and enjoy the process!
Can I use different coloring materials?
Absolutely! Use colored pencils, markers, crayons, or even watercolors to bring your Learn How to Draw Terry Fox | Step by Step for Beginners drawing to life.
You Might Also Like
How to Draw Terry Fox — Step-by-Step for Beginners
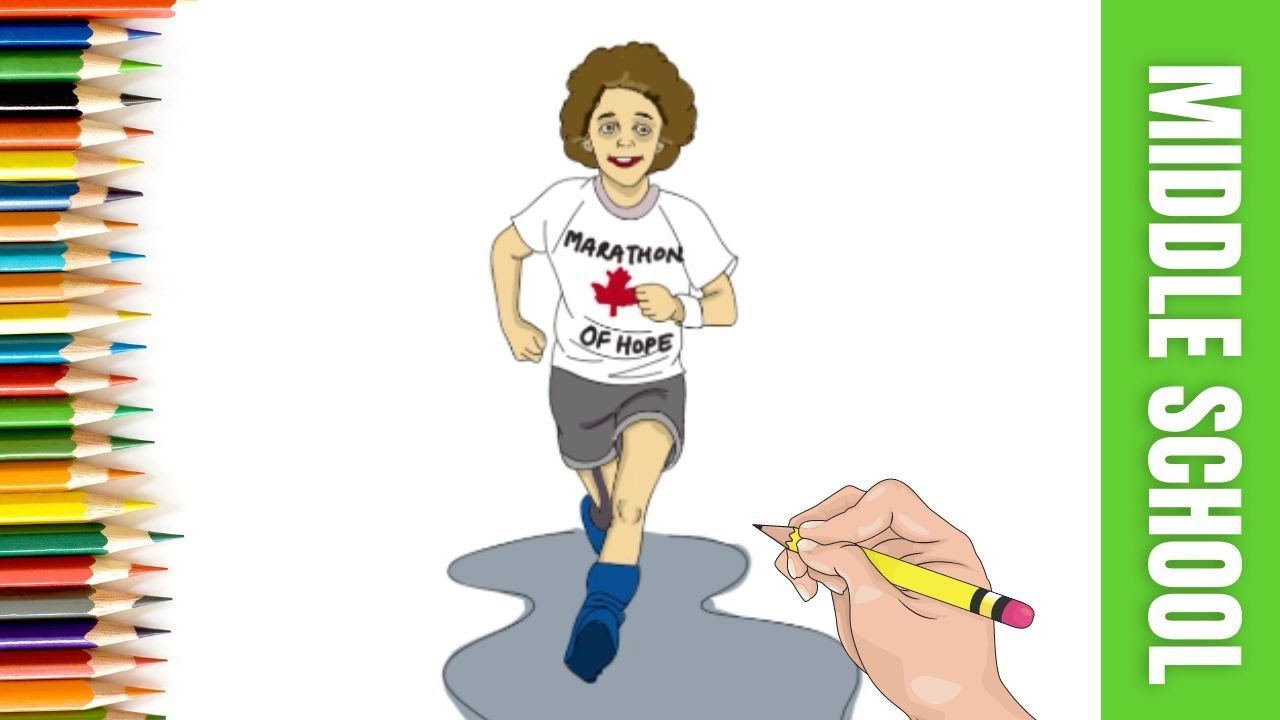
Terry Fox was a Canadian hero who ran across Canada on one leg to raise money for cancer research. Let's honour him by drawing his famous Marathon of Hope running pose with Parikshet.
What You'll Need
- Pencil (HB or 2B)
- Eraser
- White paper
- Black marker
- Grey, white, and skin-tone coloured pencils
Step-by-Step: Drawing Terry Fox Running
Step 1: Draw the Head
Draw a small oval for Terry's head. He had curly hair — draw a fluffy, uneven cloud shape around the top and sides of the oval for his distinctive curls.
Step 2: Sketch the Torso
Draw a slim rectangle for the torso, leaning slightly forward. Terry ran in a grey T-shirt with "Marathon of Hope" on it. Draw a simple rounded collar at the top.
Step 3: Draw the Running Stride
Draw one leg bent at the knee coming forward, and one leg extended back behind him. The back leg — the prosthetic — draw it straighter and stiffer than the natural leg.
Step 4: Draw the Prosthetic Leg Detail
The prosthetic lower leg is a straight cylinder ending in a foot shape. Draw it slightly different from the natural leg — straighter, with a subtle horizontal line at the knee joint to show the mechanical connection.
Step 5: Draw the Arms
Terry's arms pump as he runs. Draw one arm swinging forward, bent at the elbow, and the other sweeping back. Add a simple fist at the end of each forearm.
Step 6: Add the Face
Draw determined eyes looking ahead, a strong nose, and a slightly open mouth — he's running hard. Terry's face shows strength and hope even in pain.
Step 7: Add the Road and Background
Draw a simple road beneath his feet with two parallel lines. Add a few small pebbles. In the background, sketch distant trees or a horizon line to show the long journey ahead.
Step 8: Outline and Colour
Outline in black marker. Colour his shirt grey, shorts dark grey, skin tone for the face and natural leg, and slightly cooler grey for the prosthetic leg.
Colouring Tips
Keep colours simple and dignified. The prosthetic leg can be a cooler metallic grey than the natural skin to distinguish them clearly.
Parikshet's Tips
- The two different legs are the key detail that shows this is Terry Fox — take your time drawing them differently.
- Add "Marathon of Hope" text on the shirt if you can — it makes the drawing instantly recognisable.
- Practice every day and you'll get better!
🧠 Quick Quiz — Test What You Learned!
Created by Parikshet & Dad
Hi! I'm Parikshet, an 11-year-old creator from Dubai who loves drawing, art, science experiments, and golf. My dad and I run KidsFunLearnClub to share fun learning activities with kids around the world. We've created over 1,900 tutorials and videos to help you learn and have fun!
🎁 Free AI Activity Pack for Kids
20 hands-on AI activities Parikshet uses with his students — free, no credit card, instant download.
Get the Free Pack →Parikshet also teaches AI!
Join thousands of kids learning how AI works — in simple, fun lessons anyone can follow. Free activity pack included.
Explore AI for Kids → What is AI? Start here