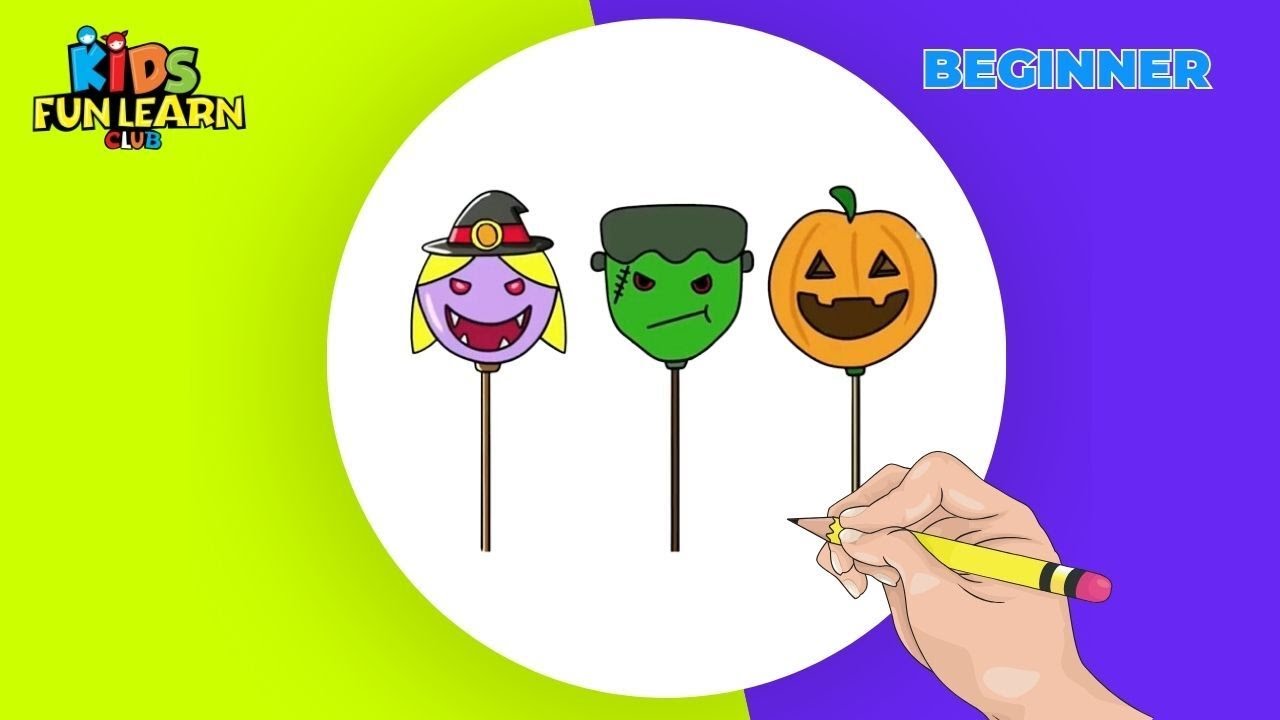
✅ What you'll learn
- How to draw Make Cute Halloween Cake Pops Step by Step! step by step
- Basic shapes and outline techniques
- How to add details and texture
- Colouring and finishing tips
💡 Perfect if you're thinking...
Learn to Draw Make Cute Halloween Cake Pops Step by Step!
Follow along with this easy step-by-step drawing tutorial and learn how to draw Make Cute Halloween Cake Pops Step by Step!. Perfect for kids and beginners!
Materials You Will Need
- Drawing paper or sketchbook
- Pencil (HB or #2)
- Eraser
- Black marker or pen for outlining
- Colored pencils, markers, or crayons
Drawing Tips
- Start with light pencil lines so you can easily erase mistakes
- Take your time with each step
- Add your own creative touches to make it unique
- Practice drawing Make Cute Halloween Cake Pops Step by Step! multiple times to improve
Frequently Asked Questions
Is this drawing tutorial suitable for beginners?
Yes! This step-by-step tutorial breaks down the drawing of Make Cute Halloween Cake Pops Step by Step! into simple, easy-to-follow steps perfect for kids and beginners.
What age group is this for?
This tutorial is designed for kids ages 5 and up, but anyone can follow along and learn to draw Make Cute Halloween Cake Pops Step by Step!!
How long does it take to complete?
Most kids can complete this drawing in 15-30 minutes. Take your time and enjoy the process!
Can I use different coloring materials?
Absolutely! Use colored pencils, markers, crayons, or even watercolors to bring your Make Cute Halloween Cake Pops Step by Step! drawing to life.
You Might Also Like
How to Draw Cute Halloween Cake Pops — Step-by-Step for Kids
Halloween cake pops are the cutest spooky treats! Let's draw a set of them — ghost, pumpkin, and monster cake pops — with Parikshet!
What You'll Need
- Pencil (HB or 2B)
- Eraser
- White paper
- Black marker
- Orange, white, green, and black coloured pencils
Step-by-Step: Drawing Halloween Cake Pops
Step 1: Draw Three Sticks
Draw three long thin vertical lines evenly spaced across your page — these are the lollipop sticks. Make them all the same length and parallel.
Step 2: Draw the Ghost Cake Pop
On the first stick, draw a round circle on top. Add a wavy bottom edge (three small bumps). Draw two small oval black eyes and an O-shaped open mouth — a little ghost face on a round cake!
Step 3: Draw the Pumpkin Cake Pop
On the second stick, draw an orange circle. Add three vertical curved lines dividing it into pumpkin segments. Draw a short green stem at the top. Add triangle eyes, a triangle nose, and a jagged zigzag smile like a jack-o-lantern.
Step 4: Draw the Frankenstein Monster Cake Pop
On the third stick, draw a green circle. Add small rectangular bolts on each side. Draw two square eyes with pupils, a straight line mouth with small square teeth, and a thick flat-top hairline for Frankenstein's square head.
Step 5: Add Candy Coating Drips
Around each cake pop ball, draw small teardrop drip shapes hanging from the bottom — these are the candy coating dripping. Make some drips longer than others.
Step 6: Draw a Display Stand
Draw a wide rectangular box at the bottom with the three sticks going into it. Add crinkled paper sticking out of the top of the box around the sticks.
Step 7: Add Stars and Sparkles
Draw small 4-pointed sparkle stars around the cake pops and a few curved shine lines on each ball to make them look magical.
Step 8: Outline and Colour
Bold black outline everything. Ghost = white; Pumpkin = orange with green stem; Monster = lime green. The stick holder box can be black with orange stripes.
Colouring Tips
Halloween palette: orange, black, white, and green. Use bright colours for each pop so they contrast with the black outlines and look good enough to eat!
Parikshet's Tips
- Making all three cake pops together in one drawing looks way more impressive than just one!
- The drip shapes at the bottom of each ball make them look like real candy-coated treats.
- Practice every day and you'll get better!
🧠 Quick Quiz — Test What You Learned!
Created by Parikshet & Dad
Hi! I'm Parikshet, an 11-year-old creator from Dubai who loves drawing, art, science experiments, and golf. My dad and I run KidsFunLearnClub to share fun learning activities with kids around the world. We've created over 1,900 tutorials and videos to help you learn and have fun!
🎁 Free AI Activity Pack for Kids
20 hands-on AI activities Parikshet uses with his students — free, no credit card, instant download.
Get the Free Pack →Parikshet also teaches AI!
Join thousands of kids learning how AI works — in simple, fun lessons anyone can follow. Free activity pack included.
Explore AI for Kids → What is AI? Start here