✅ What you'll learn
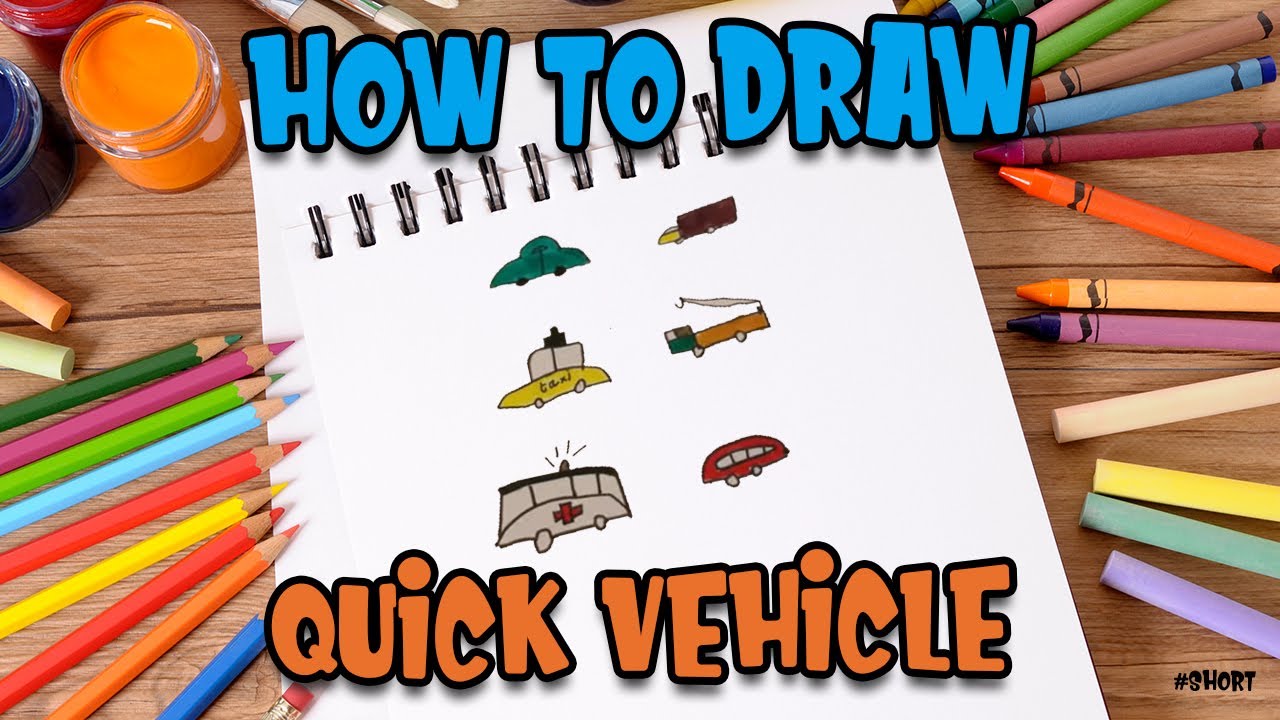
- How to draw Quick Vehicle Drawing Trick #shorts step by step
- Basic shapes and outline techniques
- How to add details and texture
- Colouring and finishing tips
💡 Perfect if you're thinking...
Learn to Draw Quick Vehicle Drawing Trick #shorts
Follow along with this easy step-by-step drawing tutorial and learn how to draw Quick Vehicle Drawing Trick #shorts. Perfect for kids and beginners!
Materials You Will Need
- Drawing paper or sketchbook
- Pencil (HB or #2)
- Eraser
- Black marker or pen for outlining
- Colored pencils, markers, or crayons
Drawing Tips
- Start with light pencil lines so you can easily erase mistakes
- Take your time with each step
- Add your own creative touches to make it unique
- Practice drawing Quick Vehicle Drawing Trick #shorts multiple times to improve
Frequently Asked Questions
Is this drawing tutorial suitable for beginners?
Yes! This step-by-step tutorial breaks down the drawing of Quick Vehicle Drawing Trick #shorts into simple, easy-to-follow steps perfect for kids and beginners.
What age group is this for?
This tutorial is designed for kids ages 5 and up, but anyone can follow along and learn to draw Quick Vehicle Drawing Trick #shorts!
How long does it take to complete?
Most kids can complete this drawing in 15-30 minutes. Take your time and enjoy the process!
Can I use different coloring materials?
Absolutely! Use colored pencils, markers, crayons, or even watercolors to bring your Quick Vehicle Drawing Trick #shorts drawing to life.
You Might Also Like
How to Draw a Vehicle Using a Quick Shape Trick: Step-by-Step for Kids
Grab your pencil and let's draw together with Parikshet — a fast drawing trick to sketch any vehicle in under 2 minutes!
What You'll Need
- Pencil (HB or 2B)
- Eraser
- White paper
- Black marker
- Coloured pencils or crayons (red, grey, black, yellow)
Step-by-Step: The Quick Vehicle Drawing Trick
Step 1: Draw a Rectangle for the Body
Start with a wide, low rectangle in the middle of your paper. Make it about 10 cm wide and 4 cm tall. This simple rectangle is the body of your car — the trick starts with just a box shape.
Step 2: Add a Smaller Rectangle on Top
On the upper half of the body rectangle, draw a smaller, narrower rectangle — centred and slightly smaller than the bottom one. This becomes the roof and windows of the car. Round off the top two corners slightly.
Step 3: Cut the Corners for the Car Shape
On the bottom-left and bottom-right of the body rectangle, cut diagonal corners — draw a short angled line across each bottom corner. This gives the car a sloped hood front and a trunk back. Now it actually looks like a car!
Step 4: Draw Two Large Circles for Wheels
Below the body, draw two large circles — one under the front and one under the back. They should be about one-third the height of the body. The bottom of each circle sits below the body rectangle (the car sits on the wheels, not in front of them).
Step 5: Add Inner Wheel Circles (Hubcaps)
Inside each wheel circle, draw a smaller circle in the centre for the hubcap. Then draw 4 or 5 short lines from the inner circle outward like spokes on a wheel.
Step 6: Add Windows and a Door
Inside the upper rectangle (roof area), draw two or three trapezoid-shaped windows separated by a thin pillar. On the body, draw a rectangle for the car door with a small circle for the door handle.
Step 7: Add Headlights and Bumpers
At the front of the car, draw a rectangular headlight and a horizontal bumper bar at the very front bottom. At the back, add a small rectangular tail light.
Colouring Your Vehicle
Colour the car body red or blue. Make the windows light blue with a white diagonal shine line. Colour the tyres black and the hubcaps grey or silver. Add a yellow headlight glow at the front.
Parikshet's Tips
- This rectangle trick works for buses (use a very wide rectangle with no slope), trucks (add a separate tall rectangle at the front for the cab), and even trains.
- Keep your wheels perfectly circular — wobbly wheels make the car look broken.
- Practice makes perfect!
🧠 Quick Quiz — Test What You Learned!
Created by Parikshet & Dad
Hi! I'm Parikshet, an 11-year-old creator from Dubai who loves drawing, art, science experiments, and golf. My dad and I run KidsFunLearnClub to share fun learning activities with kids around the world. We've created over 1,900 tutorials and videos to help you learn and have fun!
🎁 Free AI Activity Pack for Kids
20 hands-on AI activities Parikshet uses with his students — free, no credit card, instant download.
Get the Free Pack →Parikshet also teaches AI!
Join thousands of kids learning how AI works — in simple, fun lessons anyone can follow. Free activity pack included.
Explore AI for Kids → What is AI? Start here