✅ What you'll learn
- Key ideas from this activity
- Step-by-step guidance
- Tips from Parikshet (age 11)
- How to build on what you learn
💡 Perfect if you're thinking...
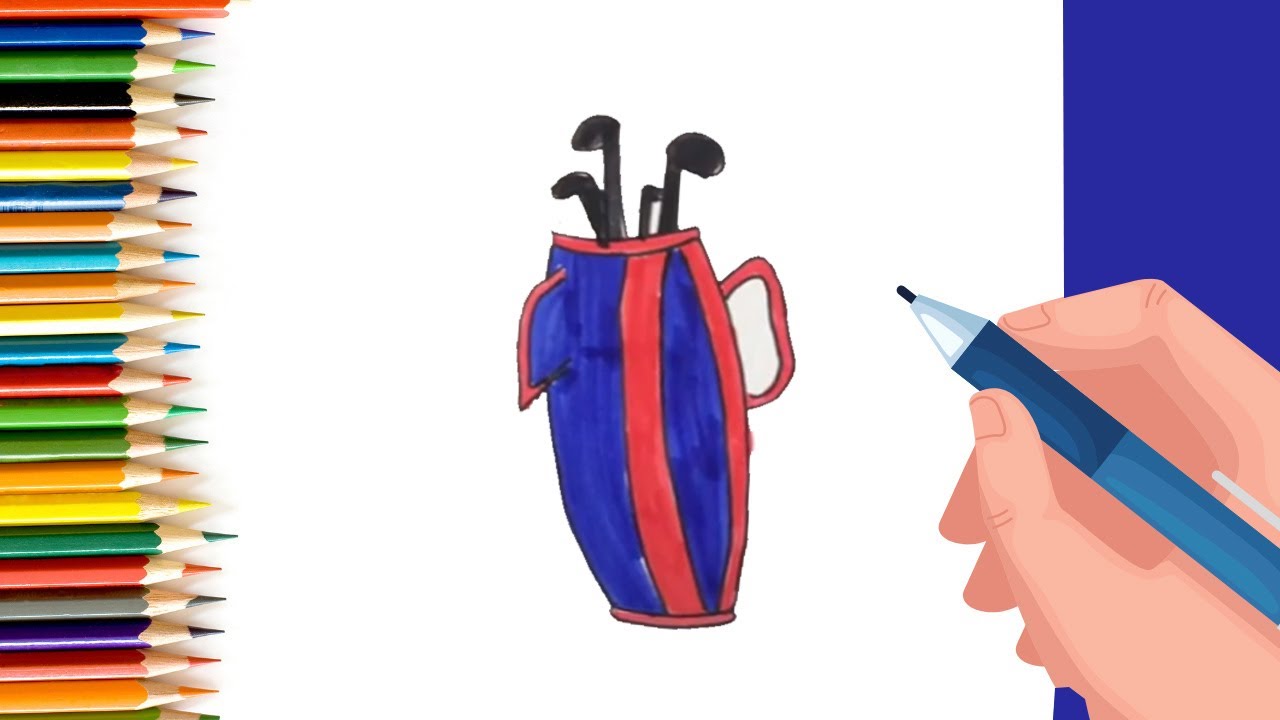
How to Draw easy Golf Bag step by step for Kids #shorts
Join Parikshet on the golf course! Watch golf tips, tricks, and fun moments perfect for kids who love golf or want to start learning.
About this golf moment
Golf is one of those sports that looks calm on the outside and is full of tiny battles on the inside. Every swing involves balance, grip, focus, and a little bit of patience, and kids who play even casually pick up all four.
This clip is part of Parikshet's golf journey. He is 11 and still learning, just like most kids who give the sport a try. What you see here is real practice, real mistakes, and real progress.
Why kids enjoy golf
- It is one of the few sports where size and speed do not decide the winner
- Every shot is a chance to start fresh, no matter what the last one looked like
- It teaches patience without ever feeling like a lecture
- The score is personal, so kids compete with themselves first
Tips for parents new to golf
Start with a small set of plastic or junior clubs in the back garden. A short, soft swing is more useful than a long one early on. And if your child loves it, a local driving range is usually cheaper and friendlier than people expect.
Frequently Asked Questions
What age can kids start learning golf?
Kids can start learning golf as young as 3-4 years old with junior clubs!
What equipment do I need?
A junior golf set with a few clubs, golf balls, and access to a driving range or putting green.
You Might Also Like
Golf Basics: Drawing a Golf Bag
Drawing a golf bag is a great way to learn what all the parts look like before you even pick up a club. A golf bag is designed to carry up to 14 clubs plus accessories, and each part of the bag has a specific purpose. Let us draw one step by step!
How to Draw a Golf Bag
- Draw the Main Body — Start with a tall, slightly tapered rectangle — wider at the top and slightly narrower at the bottom. This is the bag's main body where the clubs sit.
- Add the Top Opening — Draw an oval shape at the very top of the rectangle. This is where the club shafts stick out. Add dividers inside (draw a few lines crossing the oval) to separate different types of clubs.
- Draw the Pockets — Add two or three rectangular pockets on the lower side of the bag. Golf bags have pockets for balls, tees, gloves, rain gear, and snacks.
- Add the Stand Legs — Draw two thin legs extending from the bottom of the bag at a slight angle outward. These fold out so the bag stands upright when you put it down.
- Draw the Shoulder Strap — Add a long curved strap from the top to the bottom of the bag. This is used to carry the bag over your shoulder during the round.
- Colour Your Bag — Choose your favourite colours. Professional golfers often have bags that match their clothing or country colours.
Key Golf Bag Terms
- Staff Bag: A large, heavy bag used by professionals and usually carried by a caddie.
- Stand Bag: A lighter bag with built-in legs — perfect for junior golfers who walk the course.
- Cart Bag: A bag designed to sit on a golf buggy, with pockets on the sides for easy access while seated.
- Dividers: Sections inside the top of the bag that separate your clubs so they do not rattle against each other.
Practice Tips
- Try drawing the bag from different angles — front view, side view, and three-quarter view.
- Add the club shafts sticking out of the top to make your drawing look complete and realistic.
- Look up your favourite professional golfer's bag design and try to recreate the colours and logo placement.
Did You Know?
PGA Tour caddies carry bags that can weigh up to 25 kilograms (55 pounds) including all 14 clubs, rain gear, water, snacks, and equipment — for a full 18-hole round that can last 4 to 5 hours!
🧠 Quick Quiz — Test What You Learned!
Created by Parikshet & Dad
Hi! I'm Parikshet, an 11-year-old creator from Dubai who loves drawing, art, science experiments, and golf. My dad and I run KidsFunLearnClub to share fun learning activities with kids around the world. We've created over 1,900 tutorials and videos to help you learn and have fun!
🎁 Free AI Activity Pack for Kids
20 hands-on AI activities Parikshet uses with his students — free, no credit card, instant download.
Get the Free Pack →Parikshet also teaches AI!
Join thousands of kids learning how AI works — in simple, fun lessons anyone can follow. Free activity pack included.
Explore AI for Kids → What is AI? Start here