✅ What you'll learn
- How to draw Parikshet's School Art & Craft Homework Finger painting for kids step by step | Painting Tutorials step by step
- Basic shapes and outline techniques
- How to add details and texture
- Colouring and finishing tips
💡 Perfect if you're thinking...
Parikshet's School Art & Craft Homework Finger painting for kids step by step | Painting Tutorials
Watch this fun and entertaining video from Kids Fun Learn Club!
What you will need
- Coloured paper or card, the kind that is a little thicker than printer paper
- Child-safe scissors
- A glue stick, plus a small bottle of liquid glue for the tricky parts
- Markers, crayons, or pencils for decoration
- Old newspaper or a craft mat to keep the table clean
How to make it
Lay out everything before you start. Crafts go a lot smoother when you are not hunting for the glue with sticky hands. Watch the video once first, then pause at each step and copy along.
Take your time with the cutting. Slow scissors give clean edges, and clean edges make the final piece look ten times nicer. If a cut goes wrong, do not worry, you can usually trim around it.
Tips that make a difference
- Use a glue stick for paper-on-paper and liquid glue only for small joints. Liquid glue can warp paper if you use too much.
- Press each glued piece for a slow count to ten. It feels long, but the bond holds much better.
- Let the project rest for a few minutes before moving it. New glue is weaker than dry glue.
- Save your scraps. Most of them can become eyes, hair, or tiny details on the next craft.
Fun variations to try
Once you finish the main version, try changing one thing. Use a different colour, swap the size, or add googly eyes. Tiny changes turn one tutorial into five different projects, and that is where real creativity starts to show up.
Frequently Asked Questions
Who makes these videos?
Kids Fun Learn Club is a channel run by a father-son duo making learning fun for kids worldwide!
Where can I find more videos?
Visit our YouTube channel Kids Fun Learn Club for hundreds more fun videos and tutorials!
You Might Also Like
What You'll Make
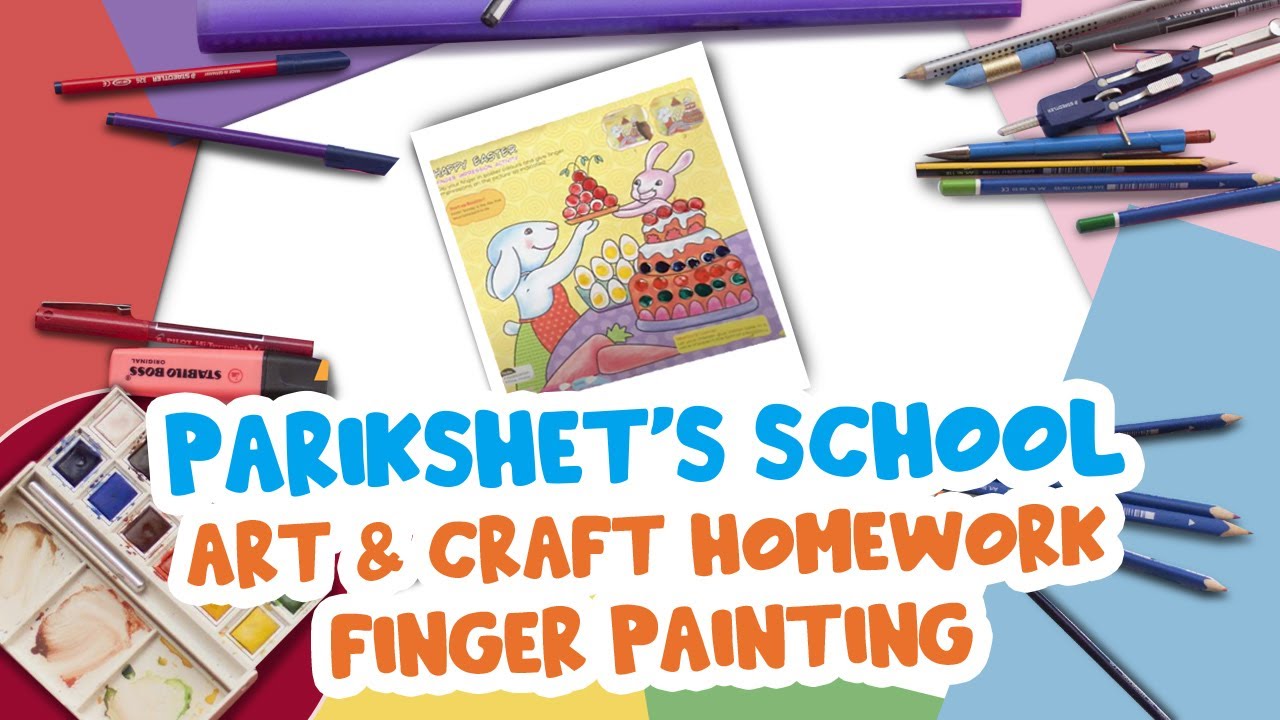
Finger painting is one of the most expressive and freeing forms of art available to kids. Using just your fingers, palms, and hands as brushes, you will create a textured, colourful artwork that is completely unique — no two finger paintings are ever the same because no two people's hands are identical.
Materials Needed
- Finger paints (or thick poster paint) in at least 4 colours
- Large white paper or cardstock
- An old shirt or apron to protect your clothes
- A bowl of warm water and paper towels to wipe hands between colours
- A flat surface covered with newspaper
- Optional: a tray or plate to hold your paint blobs
Step-by-Step Instructions
- Set up your space: lay newspaper over the table, put your paper in the centre, and arrange paint blobs around the edges of your palette or plate. Put on your apron.
- Start with the lightest colour. Dip your index finger into the paint and draw it across the paper in a curving line. Notice how the texture of your fingerprint creates a pattern in the paint.
- Try different techniques: use your full palm to make a large smooth sweep, your fingernails for fine lines, your knuckles for wavy ridges, and the flat of your thumb for solid filled shapes.
- Wipe your hand on a paper towel and dip into your second colour. Overlap it with the first in some places to create blended secondary colours where they meet.
- Build up layers: let one area dry slightly before adding a contrasting colour on top. Wet paint on wet paint blends; dry paint on dry paint stays separate and crisp.
- For a sky and landscape: use a full palm stroke of blue across the top, then green across the bottom, blending slightly where they meet to create a horizon.
- Add final details with fingertip dots, nail-drawn lines, and thumb-print textures over the dried base layer.
Tips for Best Results
- Thick paint gives better texture and more interesting fingerprint patterns than watered-down thin paint.
- Resist the urge to mix all colours together — keep some areas pure single colour for contrast and freshness.
- Try printing your full hand as a central motif and building a landscape or creature design around it.
Show It Off!
Finger painting is a direct impression of you — literally your fingerprints preserved in colour. Frame your best piece as a keepsake that will be uniquely you forever!
🧠 Quick Quiz — Test What You Learned!
Created by Parikshet & Dad
Hi! I'm Parikshet, an 11-year-old creator from Dubai who loves drawing, art, science experiments, and golf. My dad and I run KidsFunLearnClub to share fun learning activities with kids around the world. We've created over 1,900 tutorials and videos to help you learn and have fun!
🎁 Free AI Activity Pack for Kids
20 hands-on AI activities Parikshet uses with his students — free, no credit card, instant download.
Get the Free Pack →Parikshet also teaches AI!
Join thousands of kids learning how AI works — in simple, fun lessons anyone can follow. Free activity pack included.
Explore AI for Kids → What is AI? Start here