✅ What you'll learn
- How to draw Quick Craft Ideas for Kids #shorts step by step
- Basic shapes and outline techniques
- How to add details and texture
- Colouring and finishing tips
💡 Perfect if you're thinking...
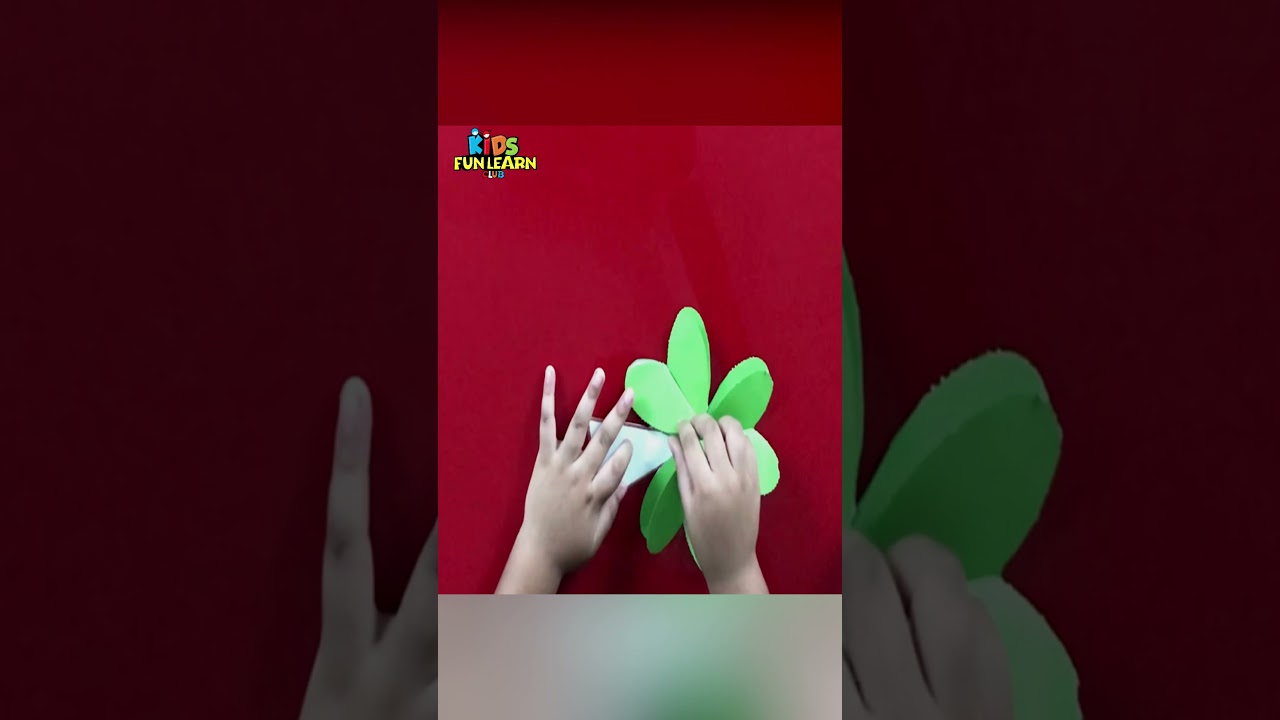
Quick Craft Ideas for Kids #shorts
Watch this fun and entertaining video from Kids Fun Learn Club!
What you will need
- Coloured paper or card, the kind that is a little thicker than printer paper
- Child-safe scissors
- A glue stick, plus a small bottle of liquid glue for the tricky parts
- Markers, crayons, or pencils for decoration
- Old newspaper or a craft mat to keep the table clean
How to make it
Lay out everything before you start. Crafts go a lot smoother when you are not hunting for the glue with sticky hands. Watch the video once first, then pause at each step and copy along.
Take your time with the cutting. Slow scissors give clean edges, and clean edges make the final piece look ten times nicer. If a cut goes wrong, do not worry, you can usually trim around it.
Tips that make a difference
- Use a glue stick for paper-on-paper and liquid glue only for small joints. Liquid glue can warp paper if you use too much.
- Press each glued piece for a slow count to ten. It feels long, but the bond holds much better.
- Let the project rest for a few minutes before moving it. New glue is weaker than dry glue.
- Save your scraps. Most of them can become eyes, hair, or tiny details on the next craft.
Fun variations to try
Once you finish the main version, try changing one thing. Use a different colour, swap the size, or add googly eyes. Tiny changes turn one tutorial into five different projects, and that is where real creativity starts to show up.
Frequently Asked Questions
Who makes these videos?
Kids Fun Learn Club is a channel run by a father-son duo making learning fun for kids worldwide!
Where can I find more videos?
Visit our YouTube channel Kids Fun Learn Club for hundreds more fun videos and tutorials!
You Might Also Like
What You'll Make
Quick craft ideas are projects you can start and finish in 15 to 30 minutes using materials from around your home. Today you will make a personalised bookmark — functional, beautiful, and something you will actually use every day.
Materials Needed
- Thick cardstock or an old cereal box (cut flat)
- Scissors
- Colouring pens, pencils, or markers
- A hole punch or pencil to make a hole
- Ribbon, yarn, or a strip of paper for the tassel
- Optional: stickers, washi tape, or glitter glue for decoration
Step-by-Step Instructions
- Cut a rectangle from your cardstock: approximately 5 cm wide and 18 cm tall. This will fit perfectly into most books.
- Round the bottom corners with scissors to give your bookmark a professional, finished look.
- Use a hole punch (or carefully push a pencil through) to make a hole at the very top centre of the bookmark — about 1 cm from the top edge.
- Decorate the front of your bookmark with whatever design you love: your name in bubble letters, a favourite character, a nature scene, motivational words, or an abstract pattern. Make it as colourful as possible.
- Cut 5 to 7 pieces of ribbon or yarn about 15 cm long each. Fold them all in half together and push the folded loop through the hole in your bookmark from front to back.
- Pull the loose ends of the ribbon through the folded loop and pull tight to create a tassel attached to the bookmark.
- Optional: add washi tape along the edges as a decorative border, or use stickers to add extra detail and personality.
Tips for Best Results
- Laminating your bookmark (even just with clear sticky tape over both sides) makes it waterproof and much longer-lasting.
- Make a series of bookmarks in different themes and give them as gifts — they are always appreciated and never thrown away.
- Write a short favourite quote or poem on the back to make your bookmark extra meaningful.
Show It Off!
Your bookmark is something you will see every day when you open your book — make it something that makes you happy every time you look at it!
🧠 Quick Quiz — Test What You Learned!
Created by Parikshet & Dad
Hi! I'm Parikshet, an 11-year-old creator from Dubai who loves drawing, art, science experiments, and golf. My dad and I run KidsFunLearnClub to share fun learning activities with kids around the world. We've created over 1,900 tutorials and videos to help you learn and have fun!
🎁 Free AI Activity Pack for Kids
20 hands-on AI activities Parikshet uses with his students — free, no credit card, instant download.
Get the Free Pack →Parikshet also teaches AI!
Join thousands of kids learning how AI works — in simple, fun lessons anyone can follow. Free activity pack included.
Explore AI for Kids → What is AI? Start here